
Anyone who has owned an RV for some time will know that RV roof leaks are amongst the most common problems owners face. However, they are also amongst the most manageable. PVC RV roofs, in particular, are quick and simple to repair with a little basic knowledge. Most small PVC RV roof leaks can be repaired by the owner, negating the need for expensive professional repairs.
Owners often assume that RV roof repairs require specialized tools or hard-to-obtain materials. In fact, all tools and materials we will recommend in this guide are available from Home Depot, Rec Pro, or other online RV parts retailers.
In this guide, we will walk you through the complete PVC RV roof repair process step by step, from identifying the source of the leak to completing a lasting, watertight fix. Whether you are a first-time DIY owner or an experienced repair professional, this guide covers everything you need to get the job done right.
Why PVC RV Roof Leaks Are Easier to Repair Than You Think
One of the biggest advantages of PVC as an RV roofing material is its straightforward repairability. PVC roofing is specifically designed with repairability by non-experts in mind, making it one of the most DIY-friendly roofing materials available.
Unlike rubber or TPO roofs, two of the other most common RV roof types, PVC can be permanently bonded using solvent welding. This simple technique creates a strong, watertight seal that, if performed correctly, will keep your RV protected for many years.
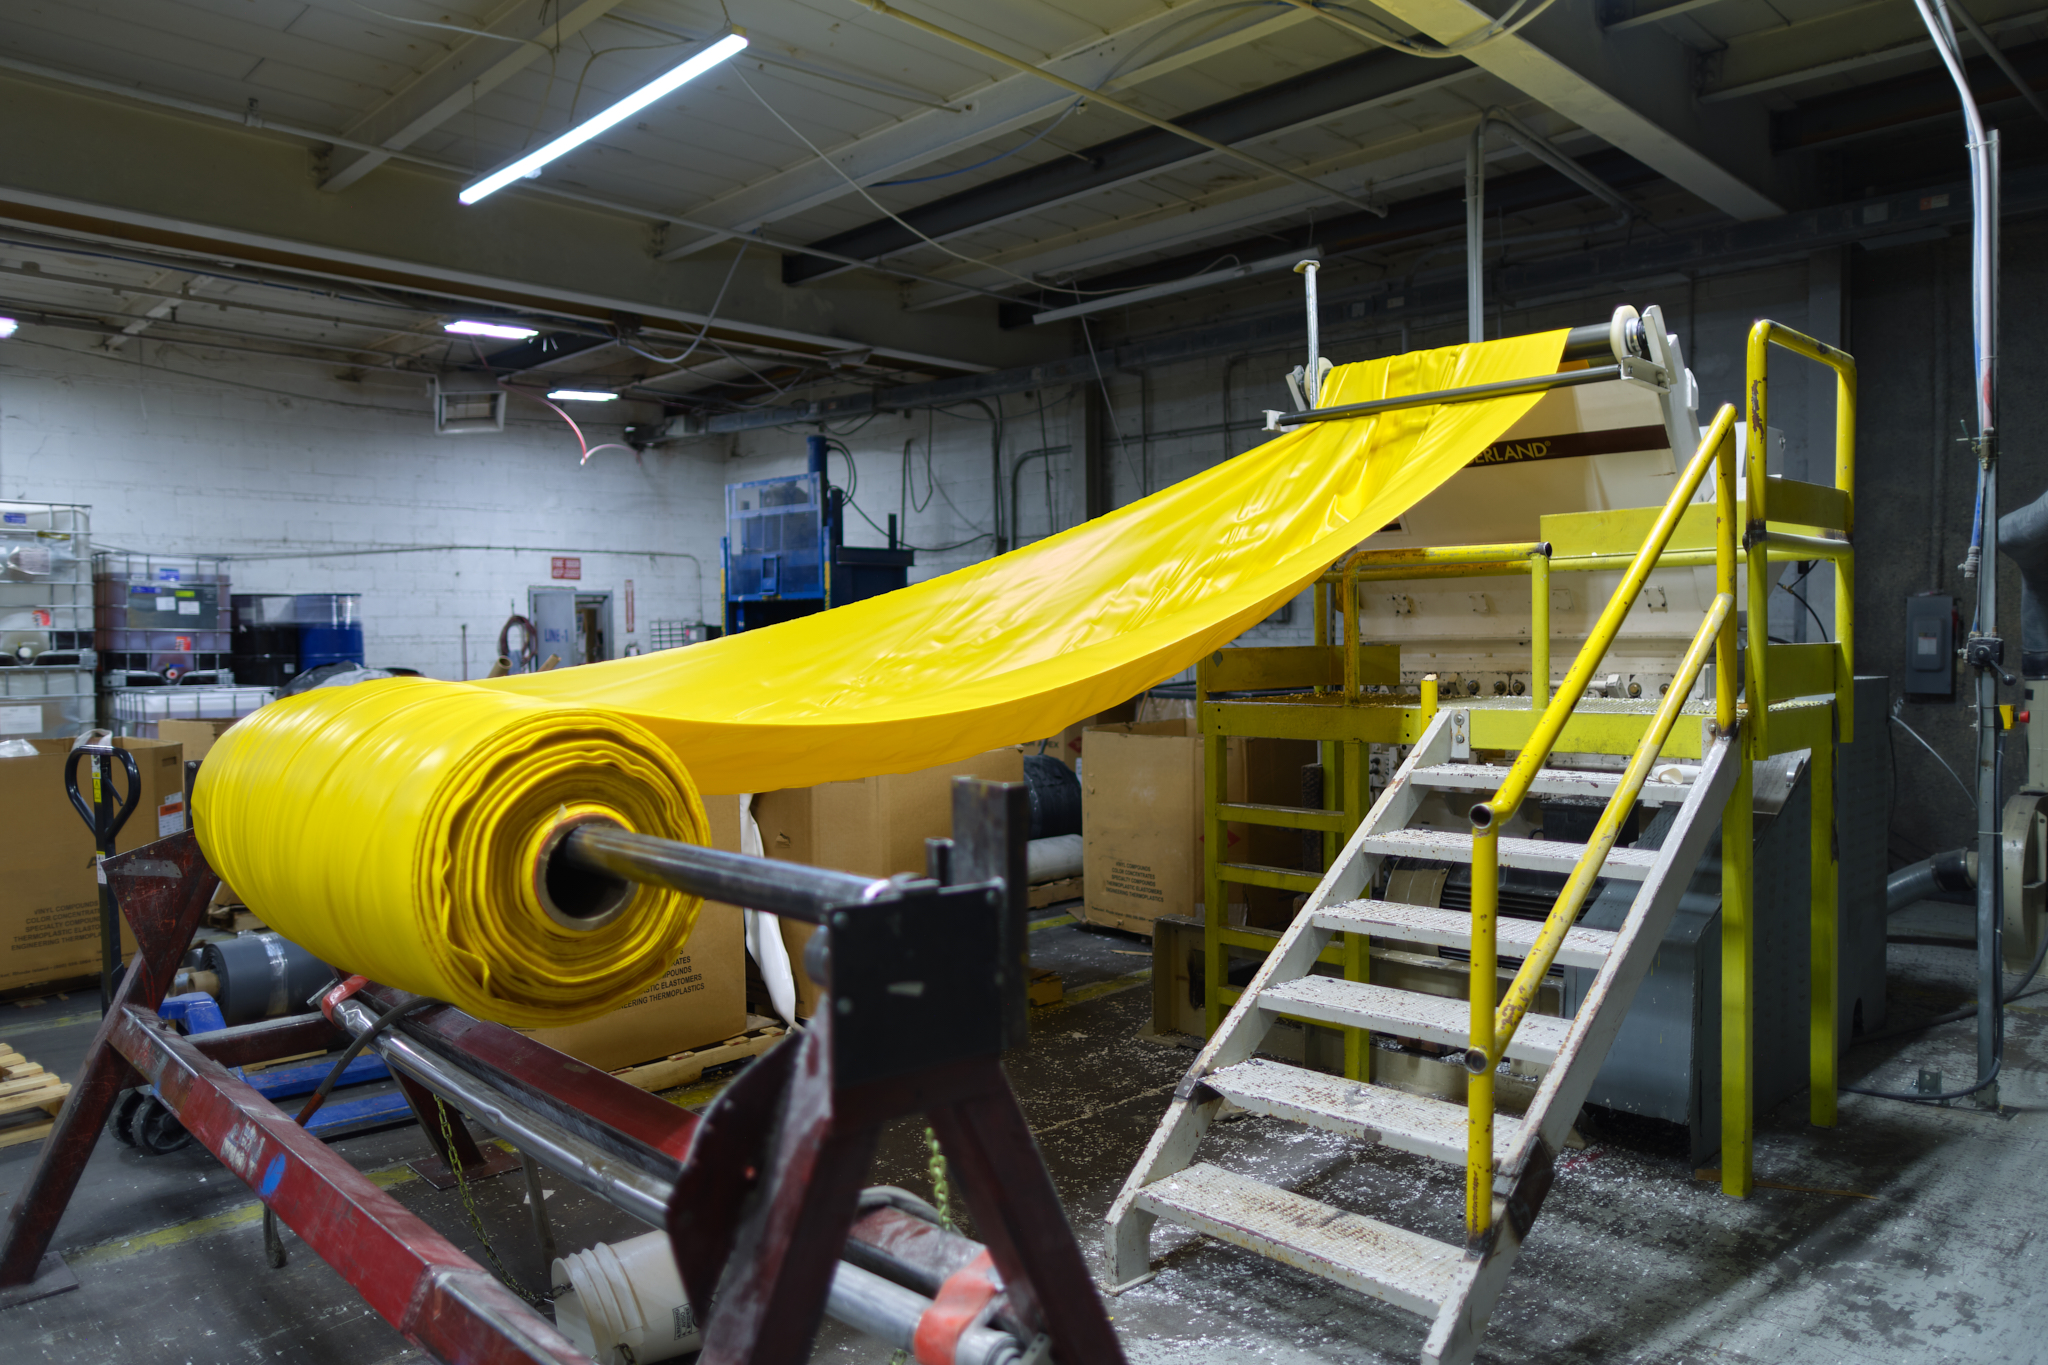
We want you to spend your time enjoying your RV rather than managing constant repairs. That’s why we created XTRM PLY, one of the strongest PVC roofing materials on the market as well as one of the easiest to repair.
XTRM PLY’s 27 mil PVC roofing thickness provides a flexible yet durable surface that holds repairs well and resists further damage around the repaired area. This makes it easy to permanently patch or reseal your RV roof without worrying that it will start leaking again in a few months.
Read on to learn how to approach the job of repairing your own PVC RV roof with confidence rather than hesitation.
What You’ll Need and How to Find the Source of RV Roof Leaks
The first step in repairing your RV roof is to find the leak, the location of which may not be immediately obvious.
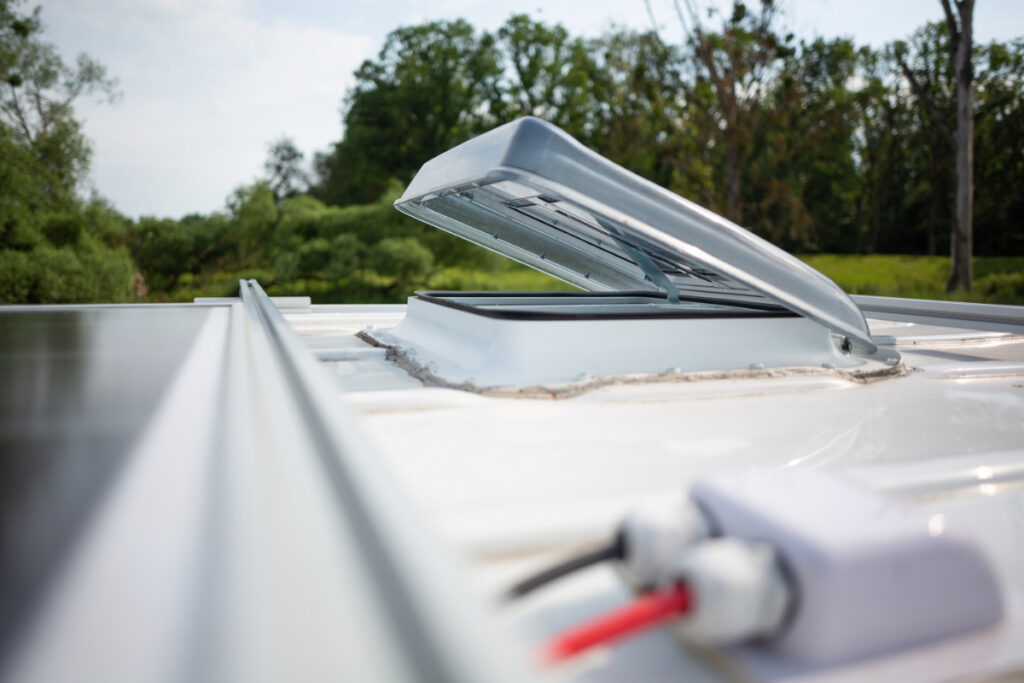
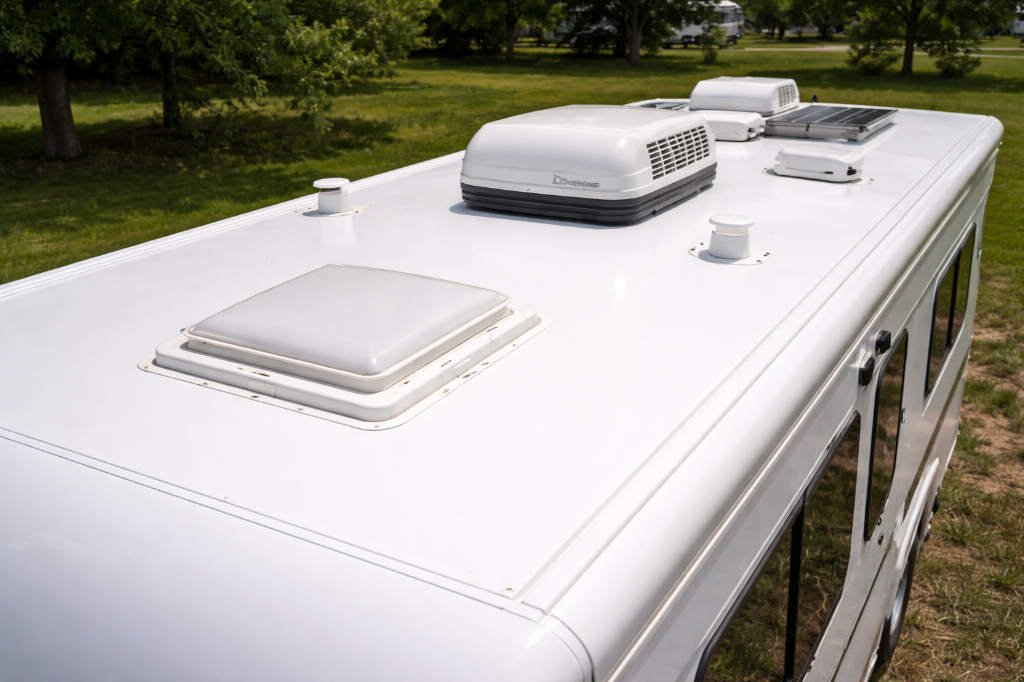
Begin your leak inspection around edges, and any roof penetrations such as skylights, reefer vents, plumbing vents, AC units, and termination bars. Many leaks happen around these roof penetrations — leaky roof penetrations are the most common cause for RV roof leaks. Carefully check the sealant around these parts for cracks or deterioration, as compromised sealant can lead to water damage inside your RV.
Don’t forget to check from inside the RV, too; ceiling water stains can help to narrow down the general leak area and find hidden leaks before you go up onto the roof.
Once you have located the roof leak, it’s time to gather the materials and tools you will need for the repair. Here’s a quick checklist to ensure you have everything you need before you begin:
- Utility knife
- Cleaning cloths or soft bristle brush
- Tape measure
- Marker
- Roller or brush for adhesive application
- PVC patch material compatible with XTRM PLY
- Solvent-based PVC adhesive (we recommend RH Adhesive HH66 or Oatey Shower Pan Liner adhesive)
Always use PVC-specific products only to repair your PVC RV roof. Products intended for rubber or TPO roofs will not bond properly with PVC roofing. Acceptable repair materials include Commercial PVC Roofing Membrane or PVC RV Roofing Membrane. In a pinch, a PVC pool liner will do the job; it will not give a sleek and aesthetically appealing finish, but it will get your RV water-tight.
Step-by-Step: How to Repair PVC RV Roof Leaks
Once you have gathered your tools and materials, follow these steps to complete the repair. The entire process, not including curing, should take around 1–2 hours. Conduct your RV roof repair in a dry place where you have plenty of space to work.
Step 1: Clean and Dry the RV Roof Surface
Remove all dirt and debris from the area of your RV roof using a soft-bristle brush or cleaning cloth. The area you are bonding to will need to be as clean as possible. Soap and water, as well as rubbing alcohol to clean the surface, are appropriate to clean the area. The surface must be completely dry before proceeding, otherwise you may not achieve a secure seal.
Step 2: Prepare the Patch
Cut out a PVC patch slightly larger than the affected area (At least 2 inches oversized), rounding the corners to prevent the edges from lifting over time.
Step 3: Apply Solvent Adhesive
We recommend using RH Adhesive’s HH66 for this step. If this is not available, you can use Oatey Solvent adhesive for shower pan liners. Ensure you choose compatible materials and do not use PVC cement designed for PVC pipe, as this will not create a lasting bond.
Apply an even coat of your solvent-based PVC adhesive to both surfaces, out to the edge of the patch. You do not want to leave a flap that could lift later. Leave both surfaces open and exposed until your adhesive is tacky to the touch. This typically takes a few minutes, but check the instructions on your chosen adhesive before you begin
Step 4: Bond the Patch
Once the adhesive is tacky, press the patch firmly onto the damaged area, working from the center outward to eliminate air bubbles and ensure a secure, watertight seal. Use a rubber roller or a non-black squeegee for best results.
Step 5: Seal the Edges
Using a caulking gun, apply a thin bead of XTRM PLY self-leveling sealant or XTRM Universal Sealant around the edges of the patch to seal them. ( This is the belt and suspenders approach.)
Step 6: Allow to Cure
Allow your repaired area to cure fully before exposing it to rain or moisture. This typically takes around 24 hours, though this can vary depending on temperature and humidity.
Key Mistakes to Avoid
While performing your own PVC RV roof leak repair is simple and straightforward, there are some common DIY errors that can undermine your efforts. In this section, we will explore these common mistakes and show you how to care for your RV roof post-repair to ensure a long-lasting and secure seal.
Mistake 1: Skipping Surface Prep
If you fail to prepare your RV roof properly before repairing, any moisture or debris left on the surface will prevent proper adhesion and cause the patch to fail. The surface must be clean or you will be bonding to dirt and debris.
We recommend using soap and water to clean the area, though alcohol or mineral spirits are also good cleaning alternatives. If you use mineral spirits, pour it onto a rag, never directly onto the roof membrane.
Mistake 2: Using the Wrong Adhesive
Only PVC-compatible solvent adhesives create a lasting bond to a PVC RV roof. Rubber roof cements and Oatey PVC pipe cement will not work on RMA XTRM PLY PVC roofing.
Mistake 3: Rushing the Cure Time
Exposing your RV roof to moisture before the full cure time has elapsed can compromise the bond entirely, causing your patch to quickly fail.
Post-Repair Care
After you have completed your RV roof repair, inspect the area after the first rain to confirm that the seal is holding.
After this, all you need to do is clean your PVC RV roof 2–3 times per year with mild soap and water. XTRM PLY’s low-maintenance surface requires no special treatments or coatings, allowing you to spend more time enjoying your RV worry-free.
Major Repairs: When to Call a Professional Instead
Many minor RV roof repairs can be performed by owners. However, there are also limits to DIY repairs and there are times when the best course of action is to consult a professional.
Minor punctures, small cracks, and localized seam separations are well within the scope of a straightforward DIY repair for most RV owners. If your RV has suffered larger tears, or damage covering a significant portion of the roof, on the other hand, it is better to allow a professional repair shop or service center to handle these issues.
If your RV’s underlying roof decking shows signs of rot or structural damage, a professional assessment is needed before any surface repair is attempted. If there is underlying damage, any DIY solution will only be a temporary fix and may lead to more serious problems that are not immediately apparent.
Repair shops and service centers familiar with XTRM PLY PVC roofing can source professional-grade materials through authorized distributors such as LaSalle Bristol and Alpha Systems.
Ready to Tackle Your RV Roof Repair?
Many RV owners are nervous about tackling their first DIY roof patch. However, finding the right RV roof leak fix is entirely manageable with the right materials, the right technique, and a little preparation. Small patch repairs are very straightforward, and performing them yourself can save you time and money.
XTRM PLY PVC roofing is built to make repairs straightforward for both first-time DIYers and experienced repair professionals, allowing you to fix minor issues with confidence and get back to enjoying your RV.
If you have questions about your specific situation or want to learn more about XTRM PLY PVC RV roofing, contact the team at Ronald Mark Associates—we’re here to help!
related posts
December 18, 2024
Polyvinyl chloride (PVC) is a synthetic thermoplastic polymer that is used extensively [...]
December 15, 2025
For RV manufacturers focused on improving energy efficiency and interior comfort, roofing [...]
February 20, 2025
A recreational vehicle, or RV, is a type of home on wheels. [...]